Recently had a comment made in a meeting that one of the things users didn't like in our current SharePoint 2007 environment is that there were so many documents that were outdated. This made me realize that I had failed to train our users in two very important "features": editing documents from SharePoint and using Versioning Settings.
This blog post is to correct those two issues.
A little about our environment: we are using MOSS 2007 (Microsoft Office SharePoint Server 2007) and Office 2010 Professional software.
So to start out, how does one create a document library?
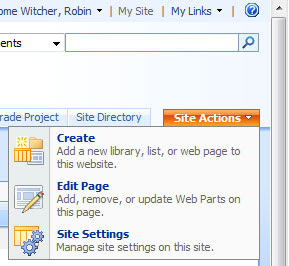
Simple, assuming the user has adequate permissions, click the Site Actions tab on the right hand side of the page, and from the drop down, select Create.
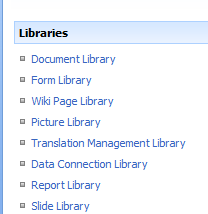
Under the Libraries grouping, select Document Library.

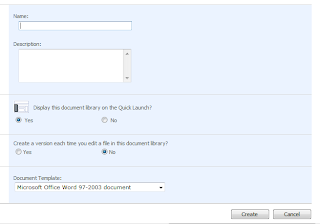
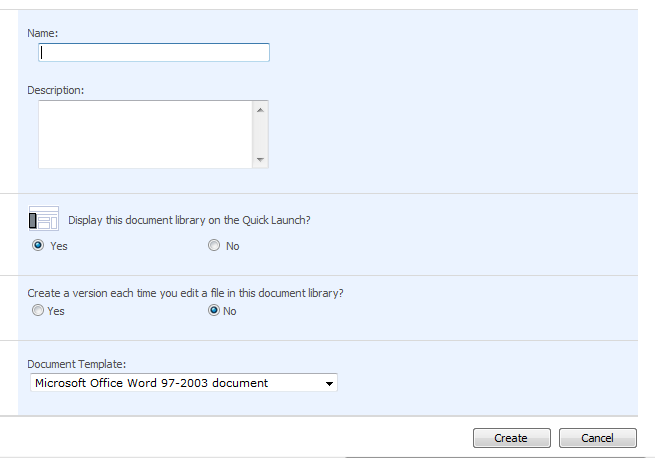
Give your library a short, descriptive name. You can turn versioning on here by clicking Yes in the Create Versions options.
In the next blog post, I discuss setting Versioning on your existing libraries.
This blog post is to correct those two issues.
A little about our environment: we are using MOSS 2007 (Microsoft Office SharePoint Server 2007) and Office 2010 Professional software.
So to start out, how does one create a document library?

Simple, assuming the user has adequate permissions, click the Site Actions tab on the right hand side of the page, and from the drop down, select Create.
Under the Libraries grouping, select Document Library.
Give your library a short, descriptive name. You can turn versioning on here by clicking Yes in the Create Versions options.
In the next blog post, I discuss setting Versioning on your existing libraries.
Comments
Post a Comment